Learn how to integrate the Noodle Dialogue application into your Canvas LMS environment by utilizing developer keys and app configurations. This guide streamlines the installation process, allowing you to quickly enable AI-driven conversational tools for your sub-accounts. For this install process to work correctly, you must contact the Noodle team prior to attempting your LTI install. Our team is available at partnerships@noodle.com if you are interested in testing or purchasing Noodle Dialogue.
1. Navigate to the Admin view of your Canvas instance.
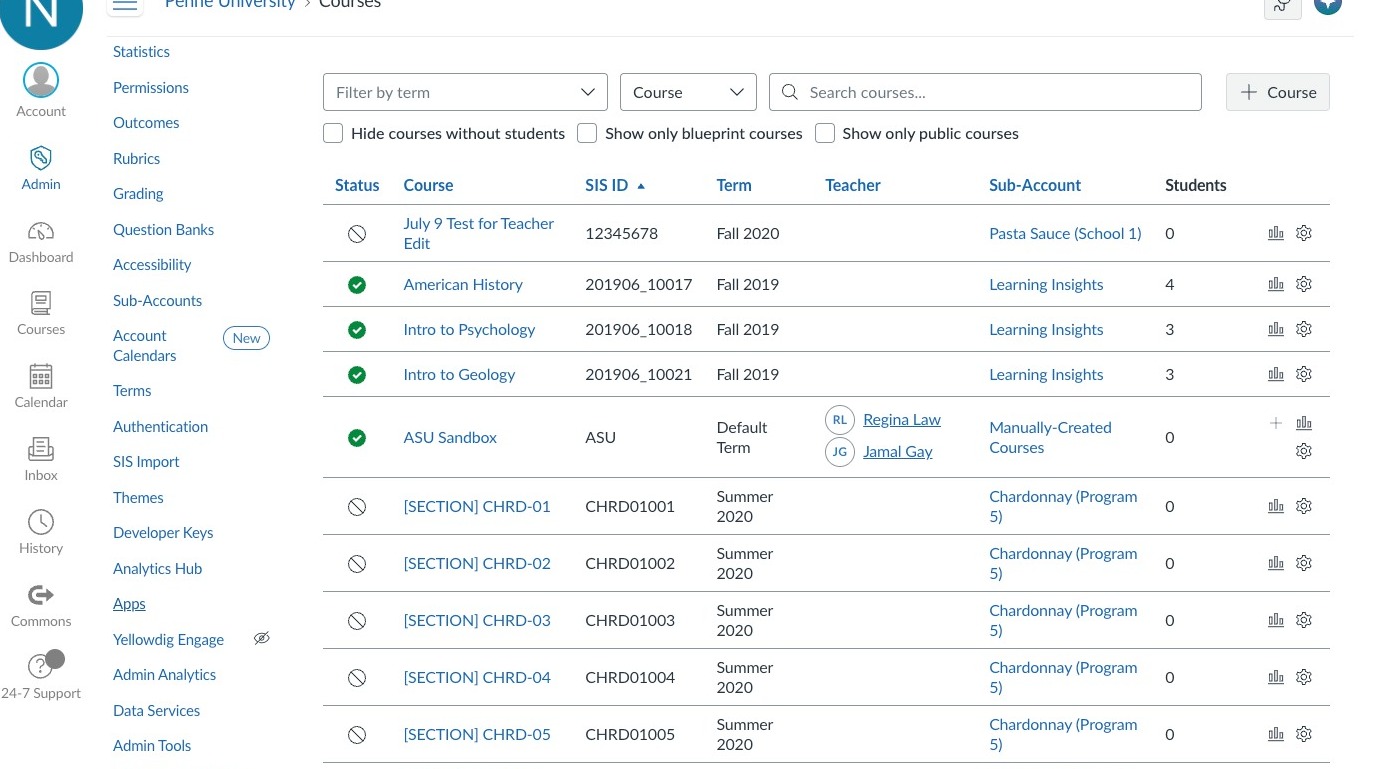
Find the App
2. Click "Apps"
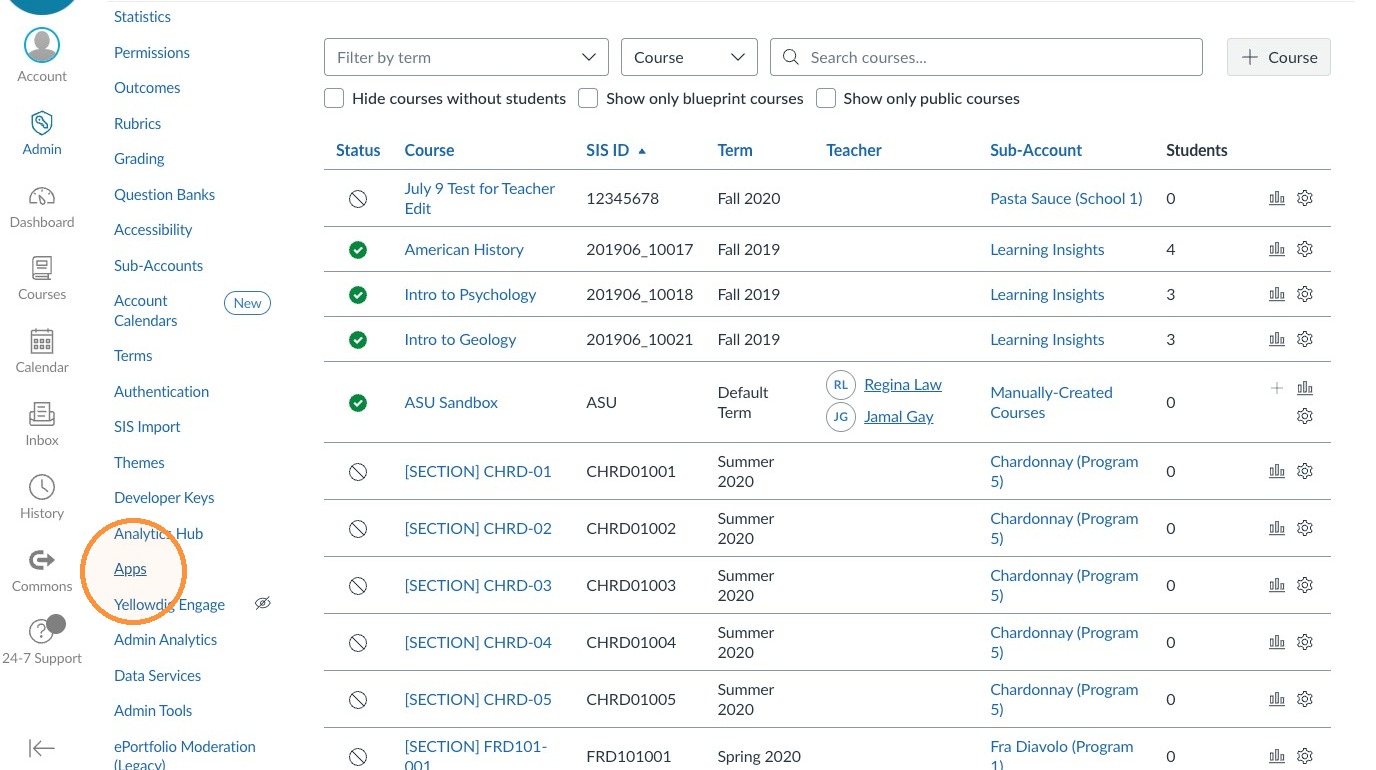
3. Click the "Search by app or company name" field.
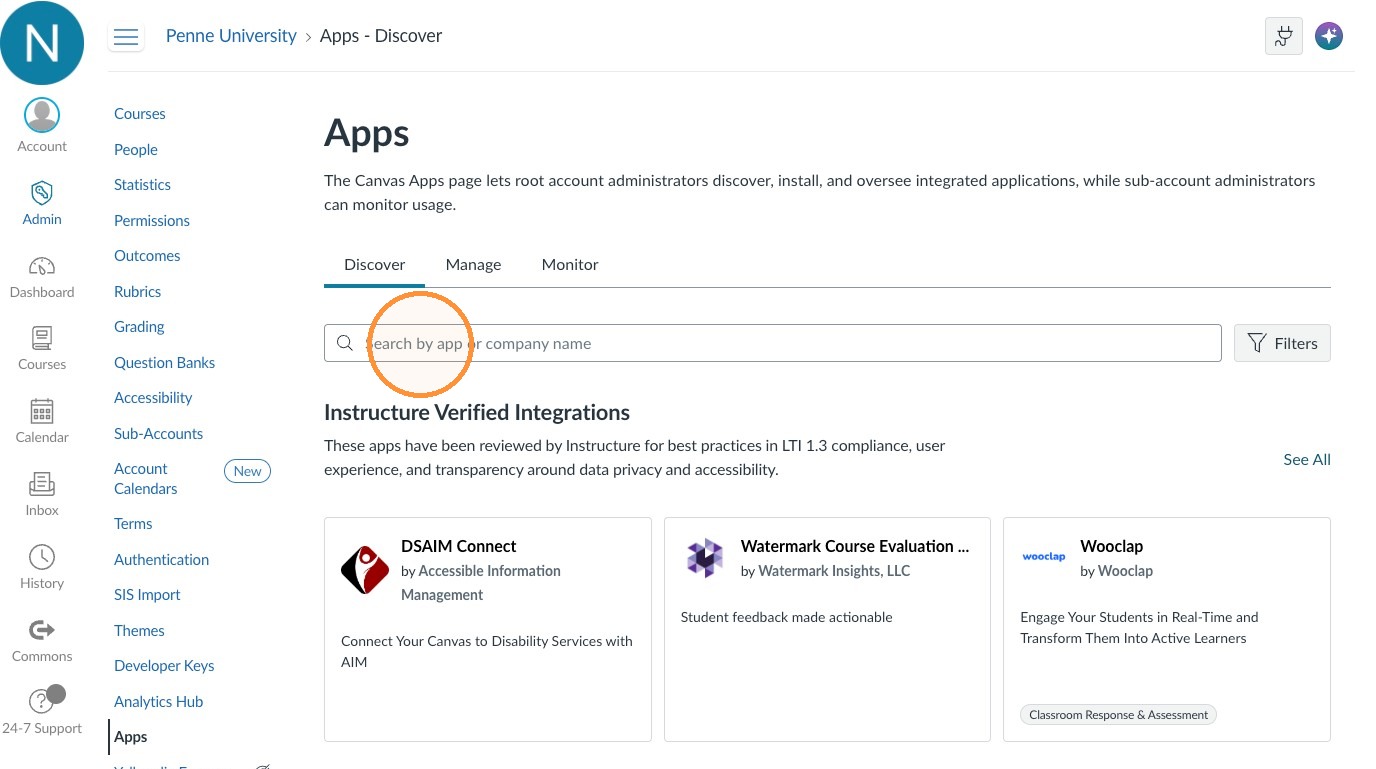
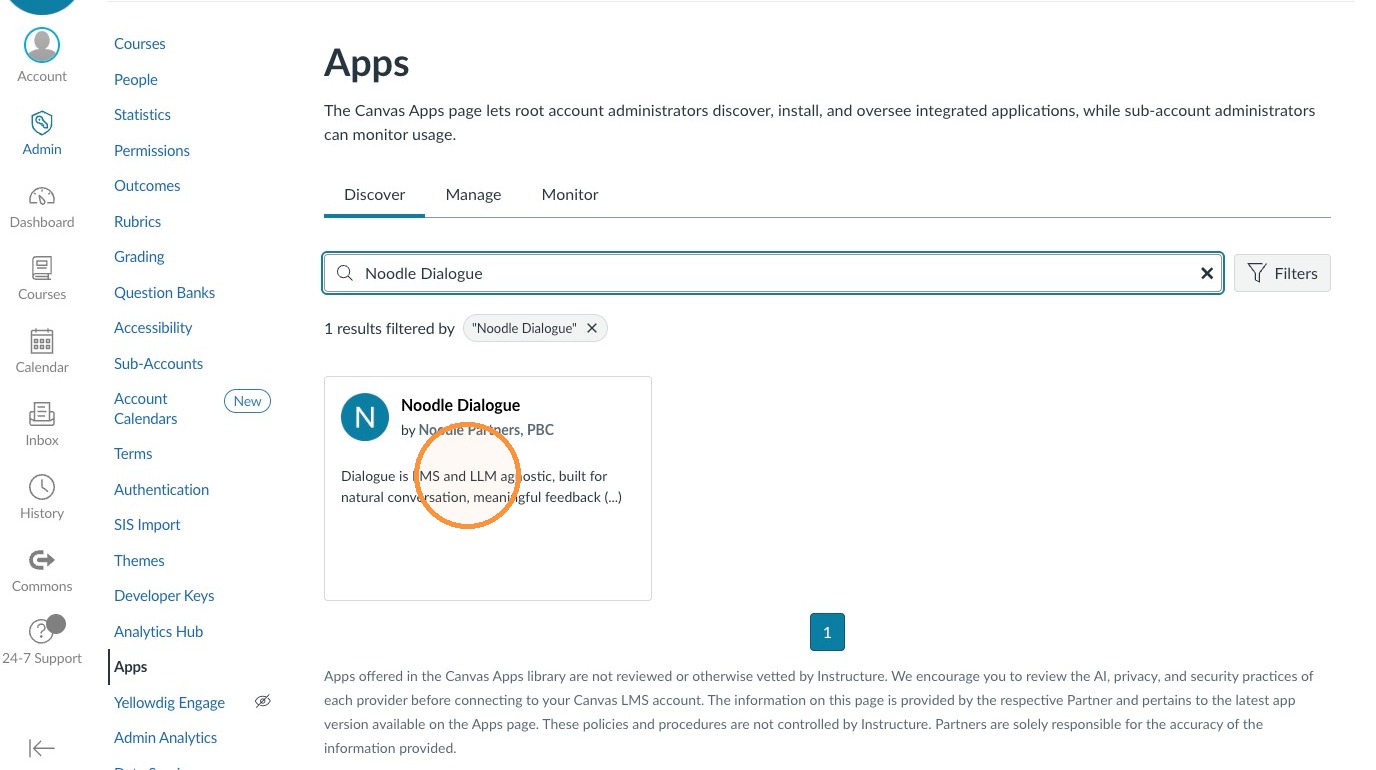
4. Type "Noodle Dialogue"
5. Click the Noodle Dialogue app card.
Install the App
6. Click "Install"
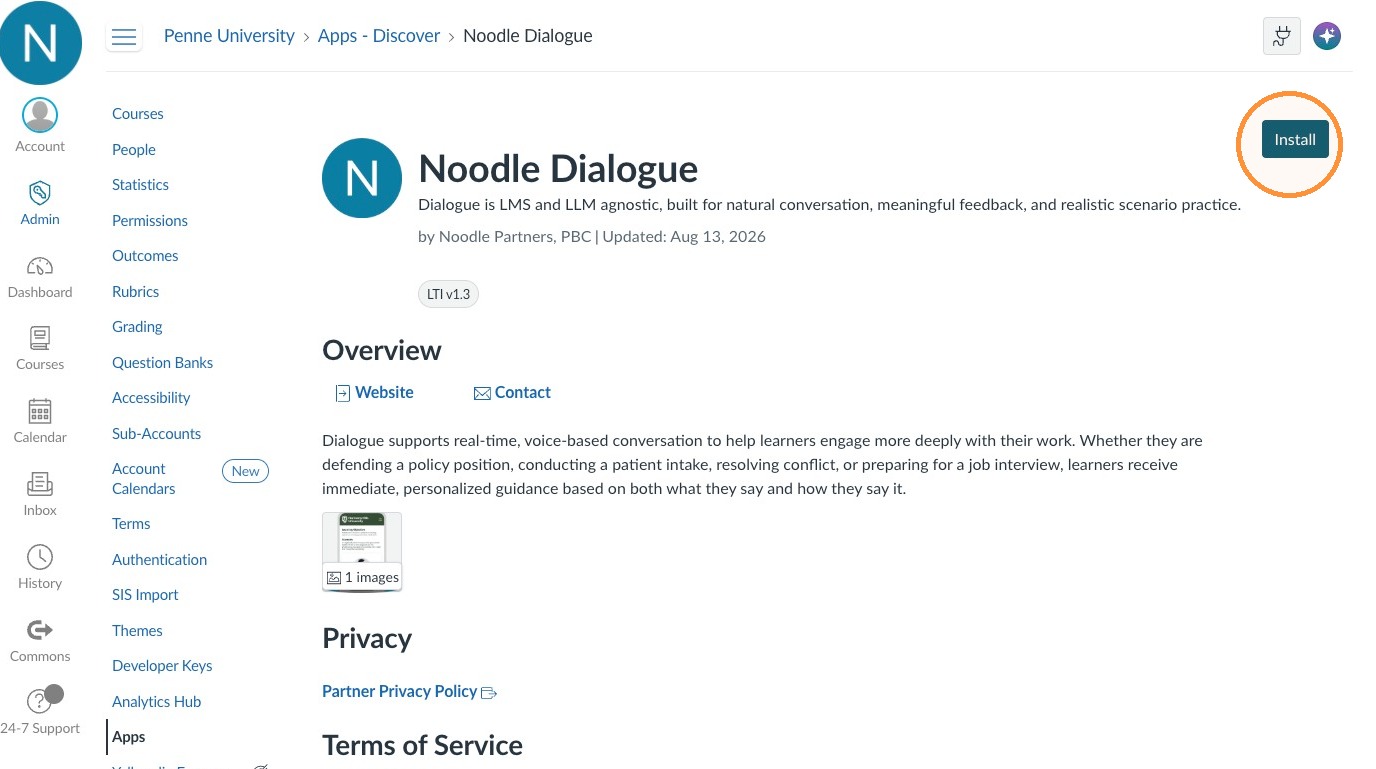
7. Click Next to review the app’s data-sharing settings.
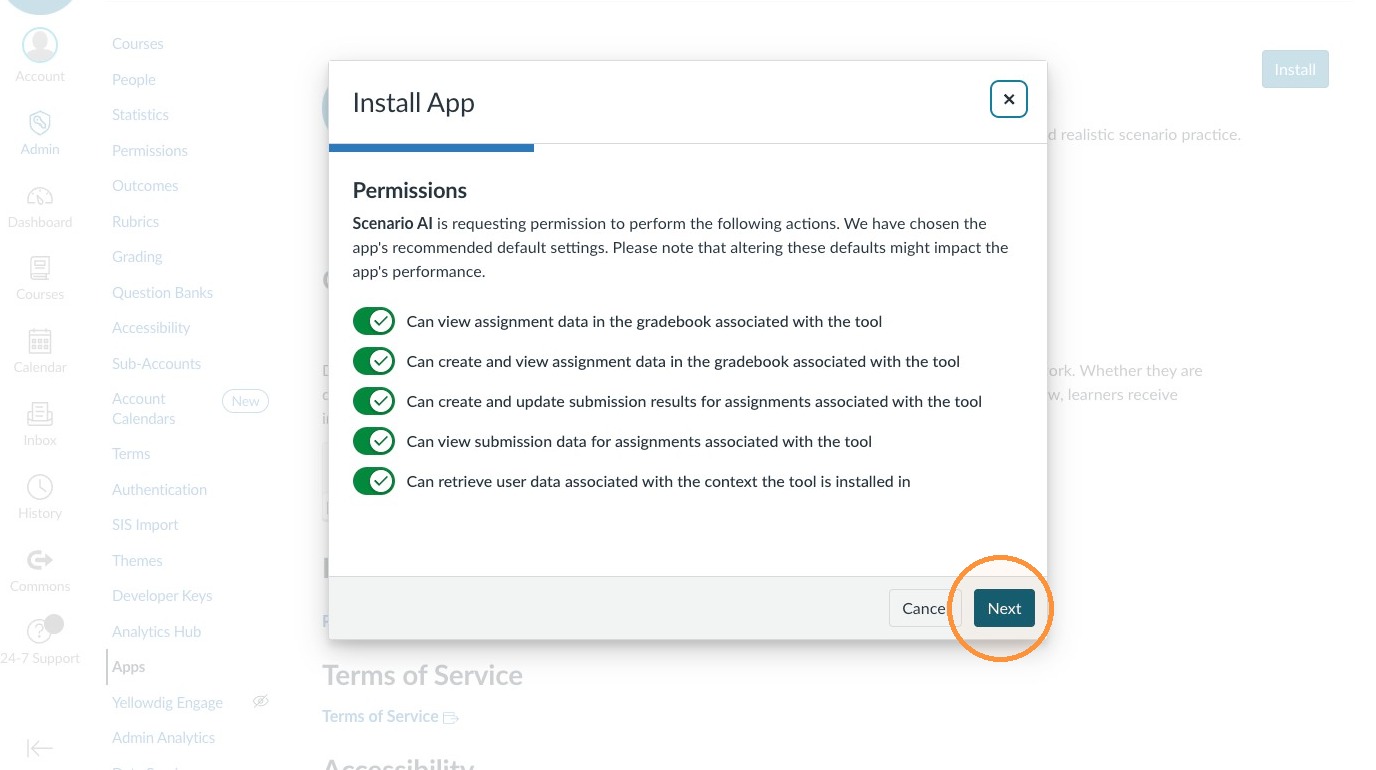
8. Click Next to review the app’s placement settings.
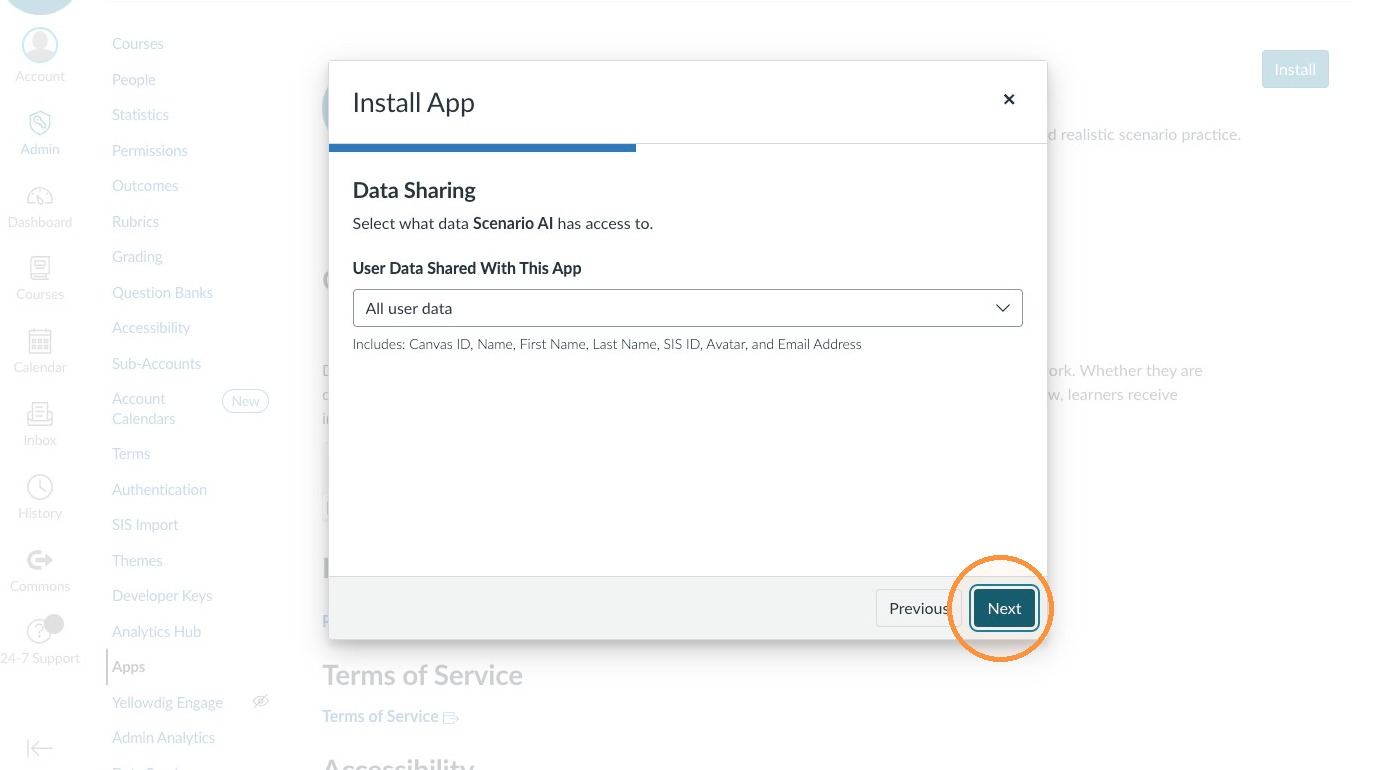
9. Click Next to configure the app’s naming details.
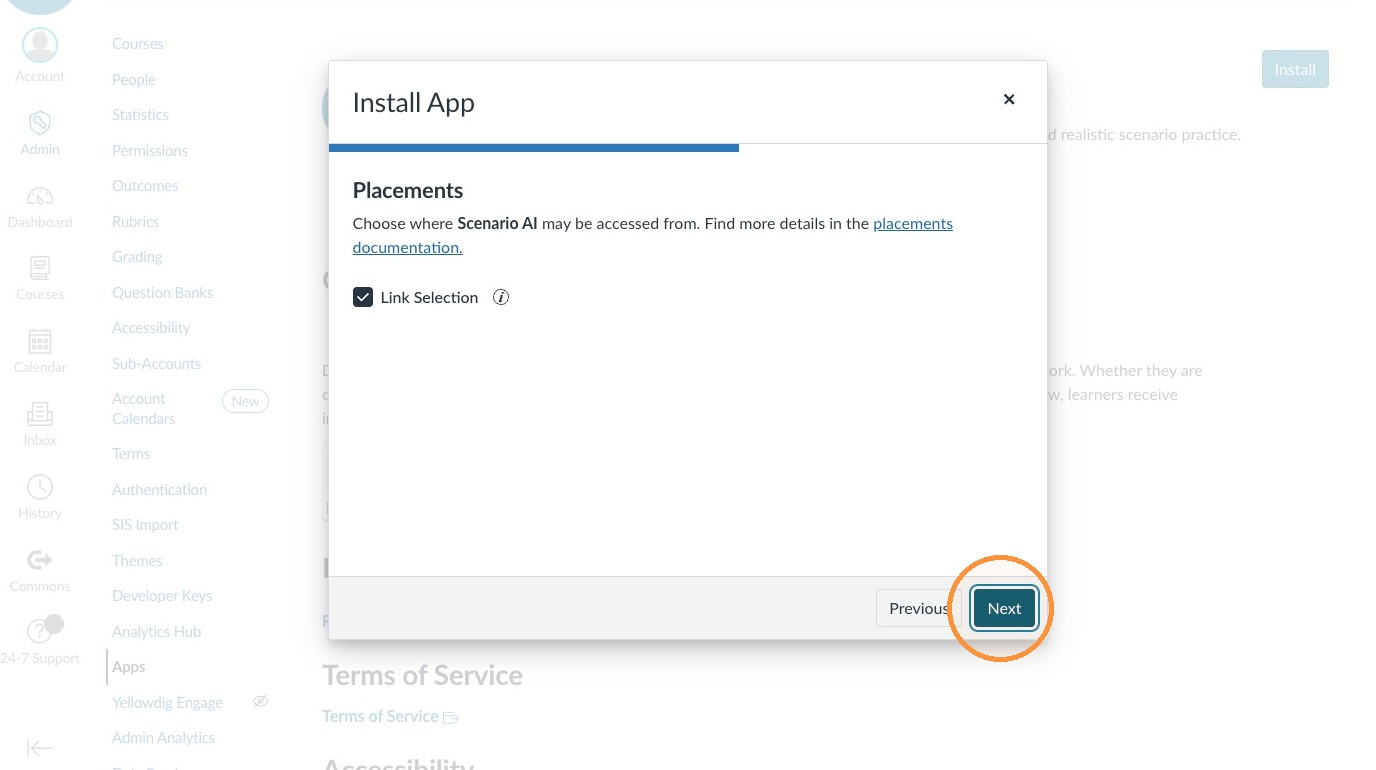
10. Click Next to review the tool icon settings.
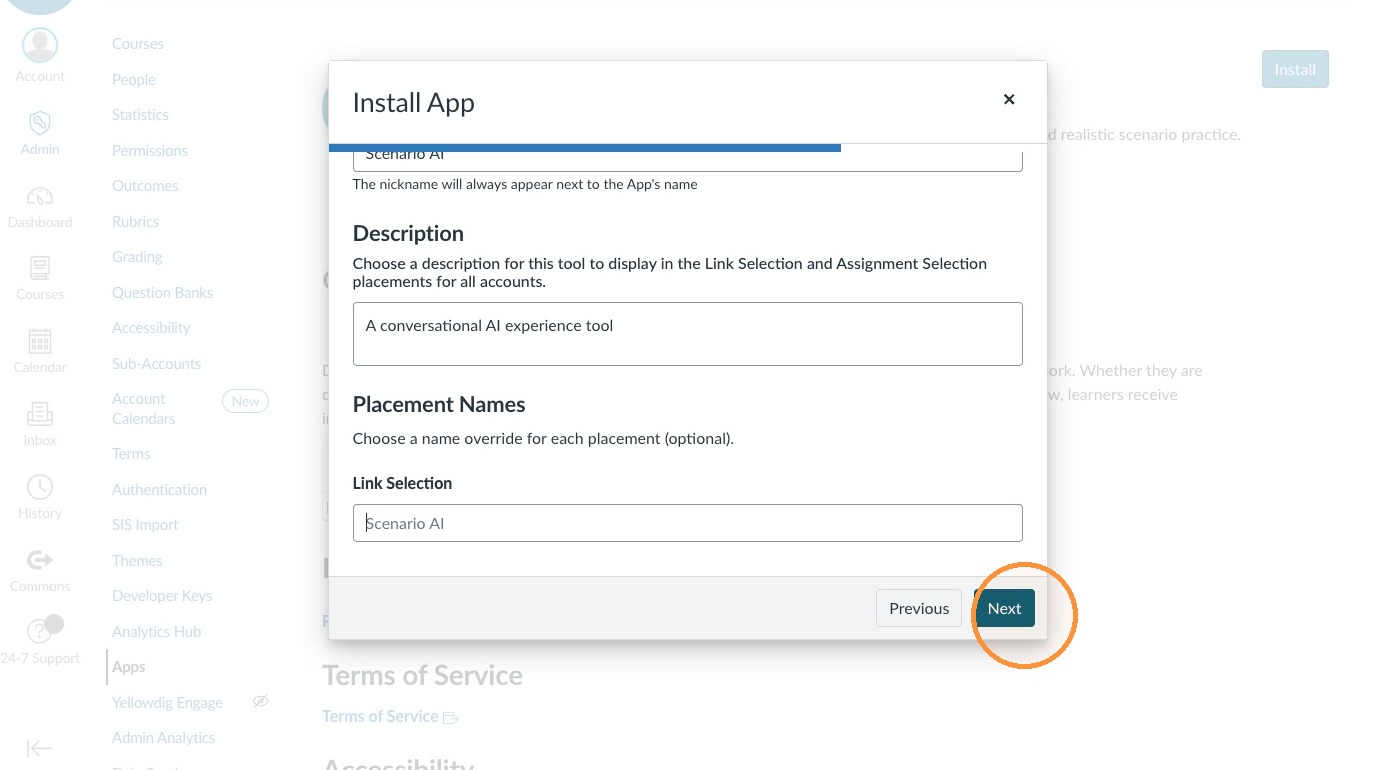
11. Click "Next"
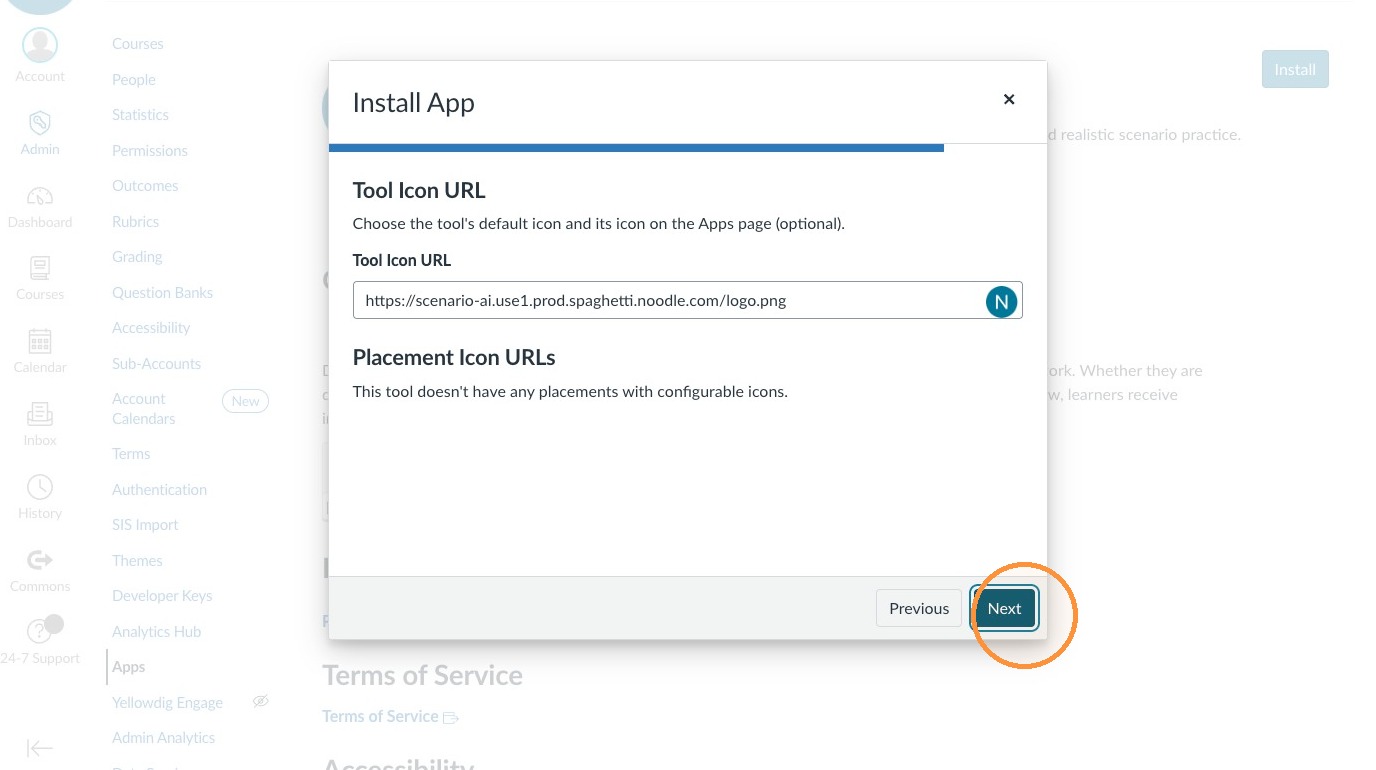
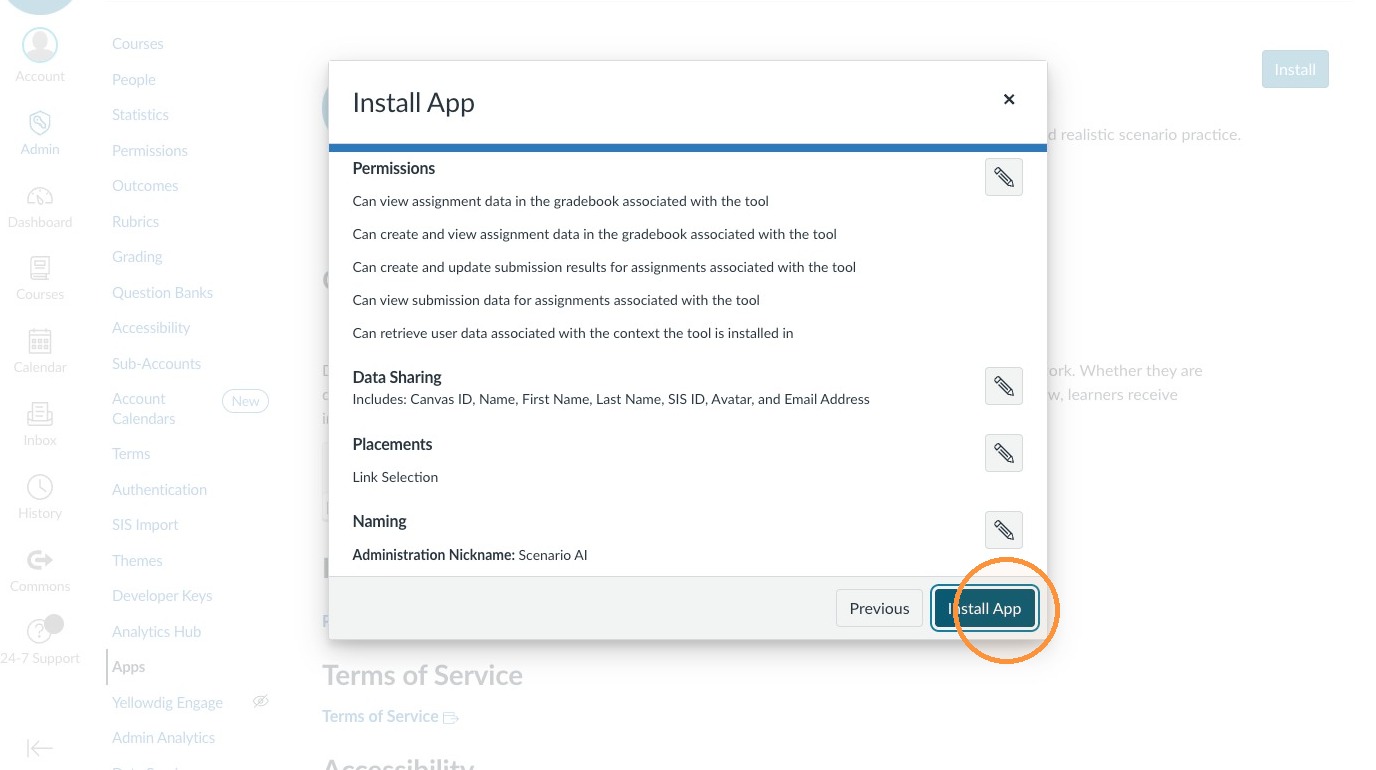
12. Click "Install App"
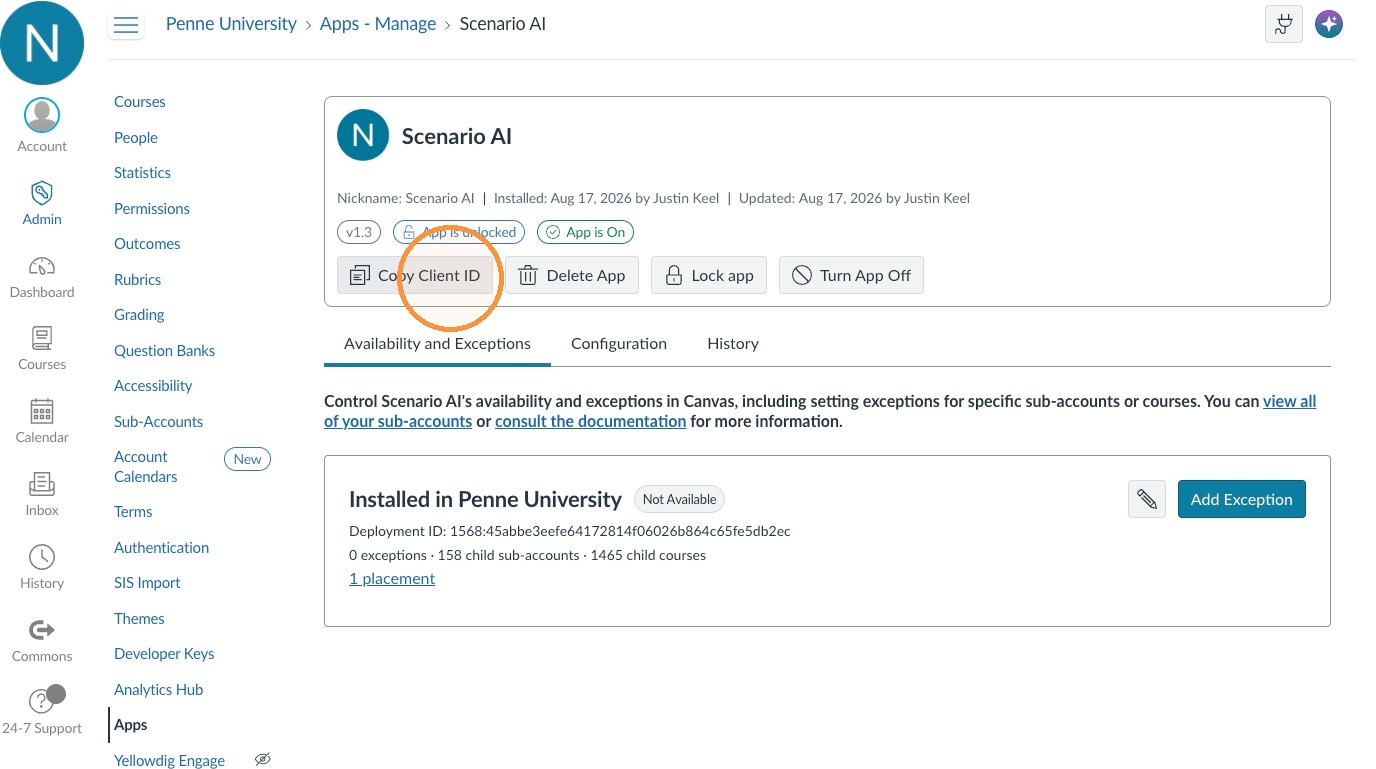
Copy the Client ID
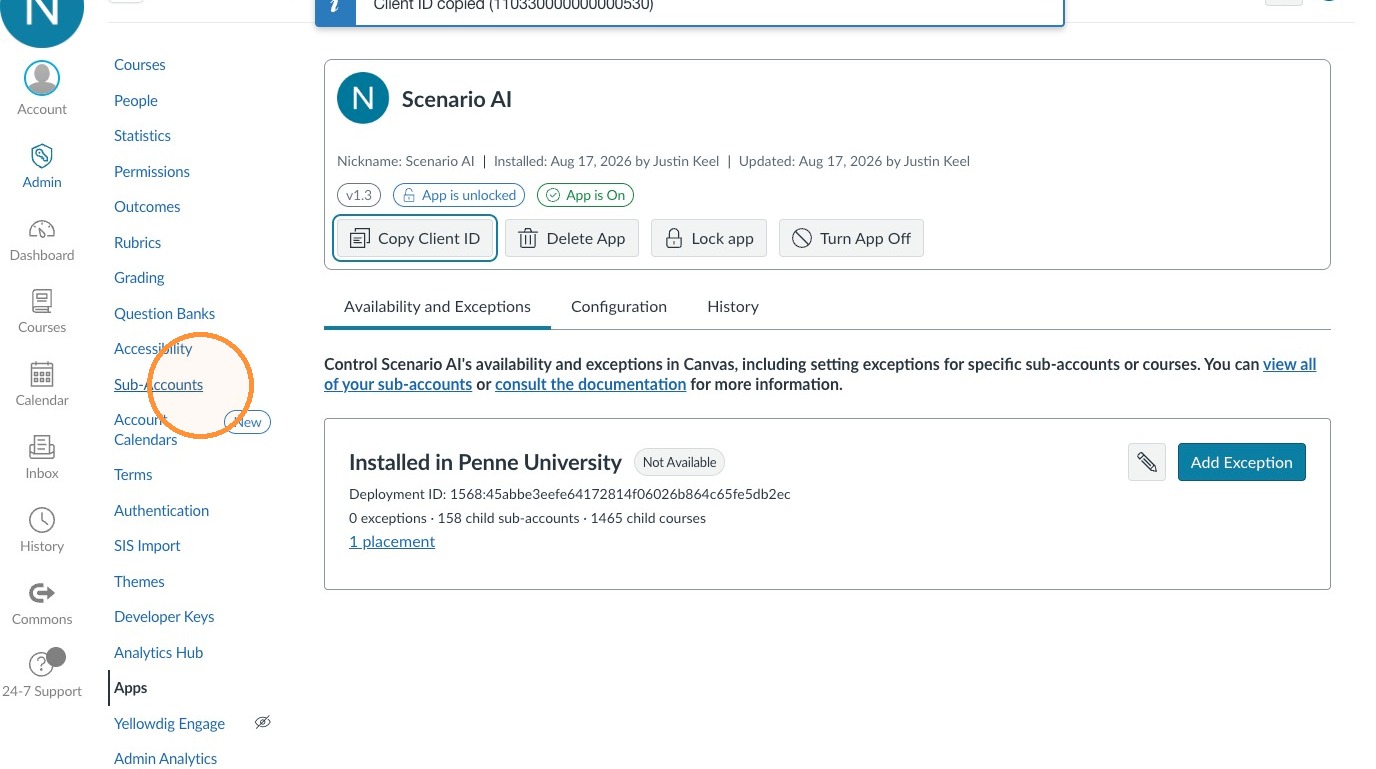
13. Now that the tool has been installed, it will need deployed in a subaccount. Click "Copy Client ID"
14. Click "Sub-Accounts"
Open the Sub-Account
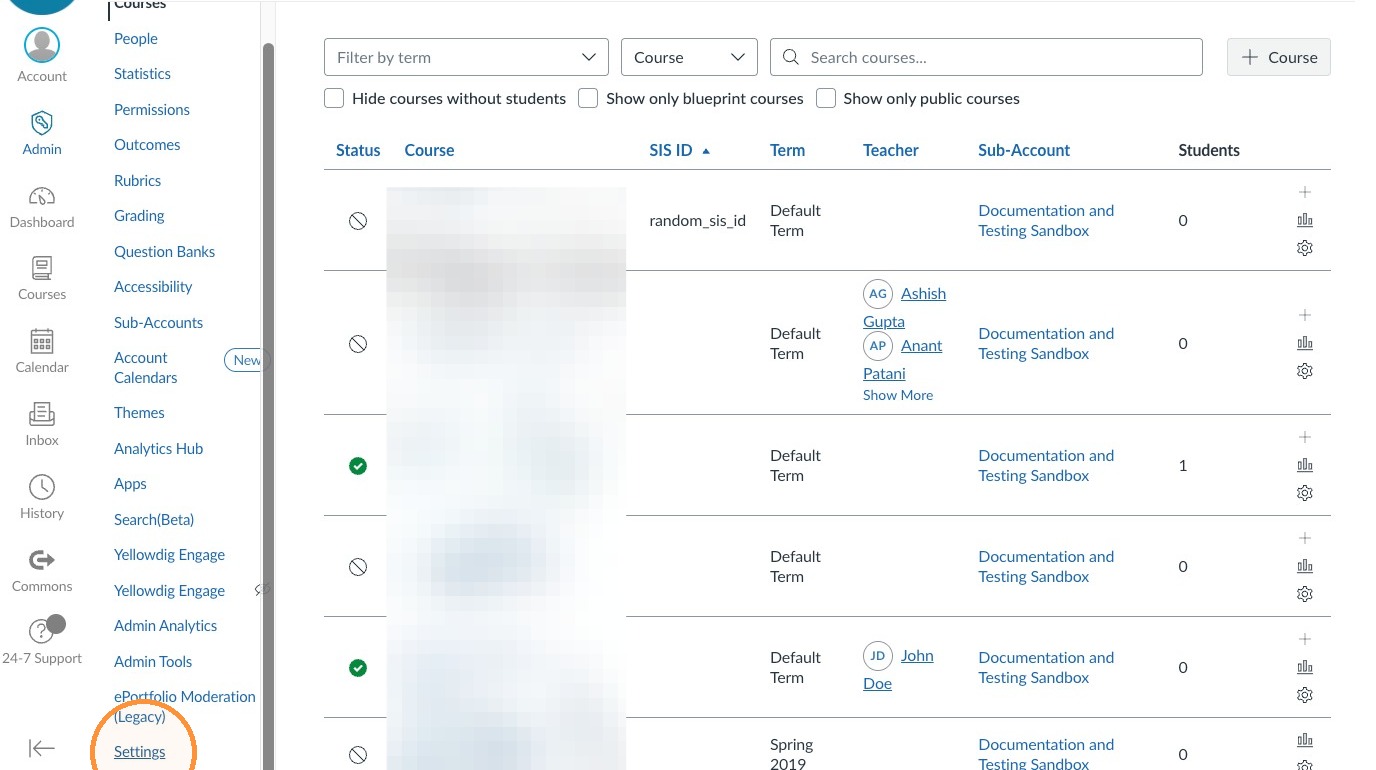
15. Select the subaccount where Dialogue will be deployed.
16. Click "Settings"
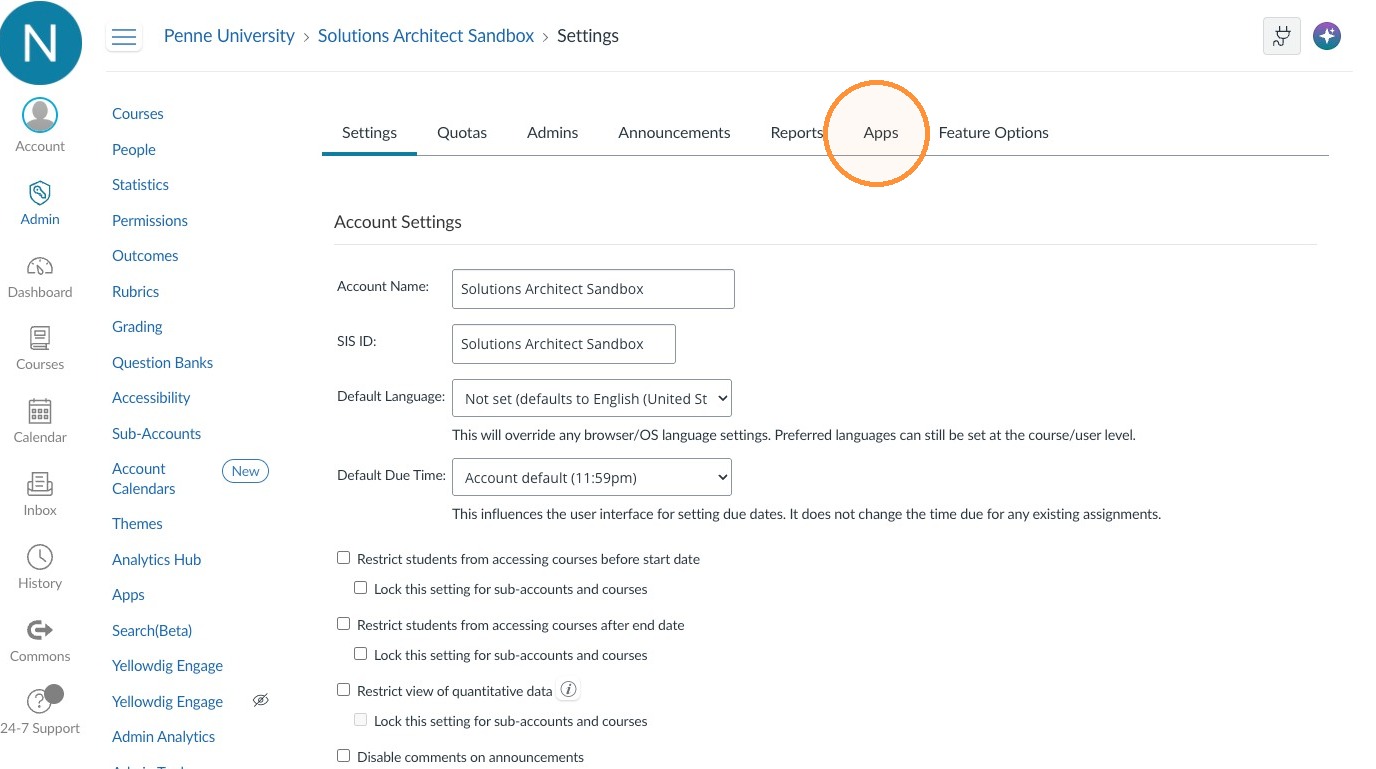
17. Click "Apps"
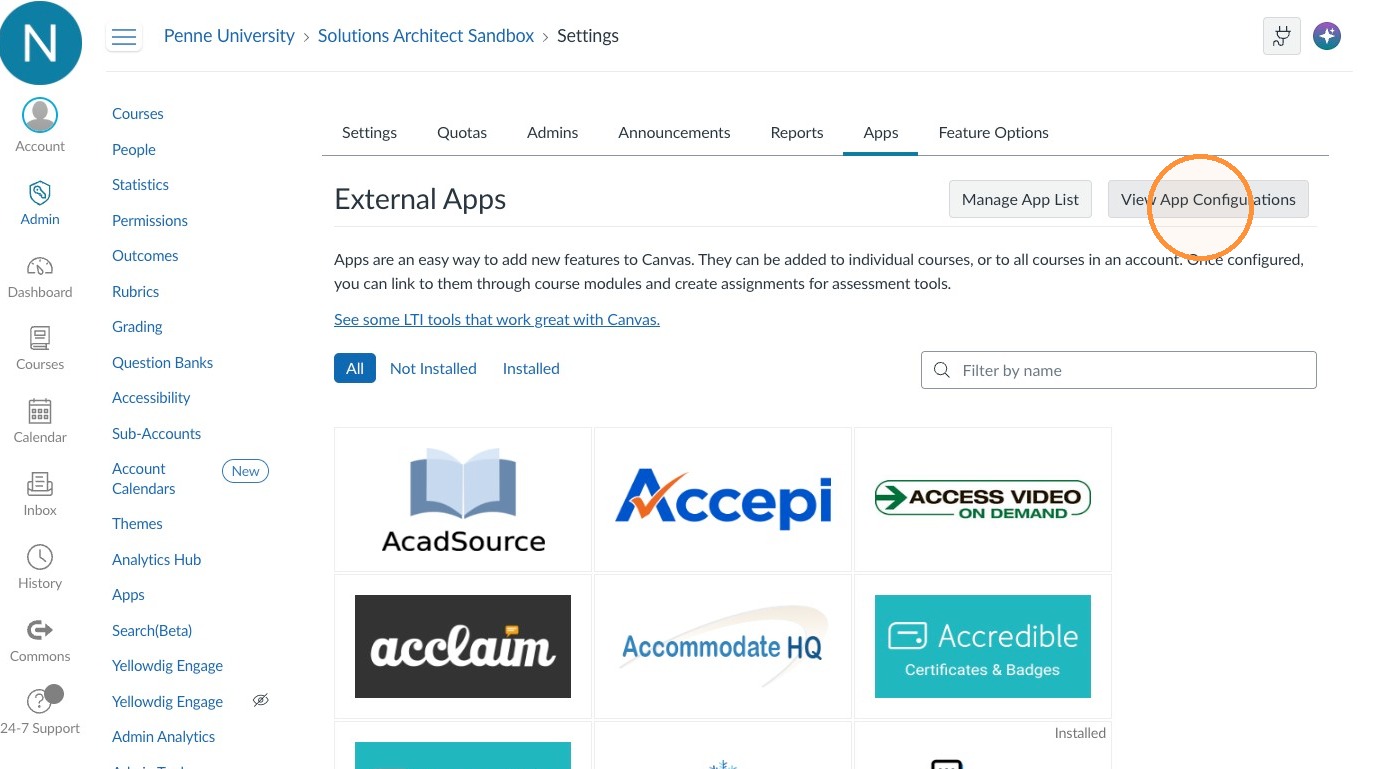
18. Click "View App Configurations"
Configure the External App
19. Click "Add App"
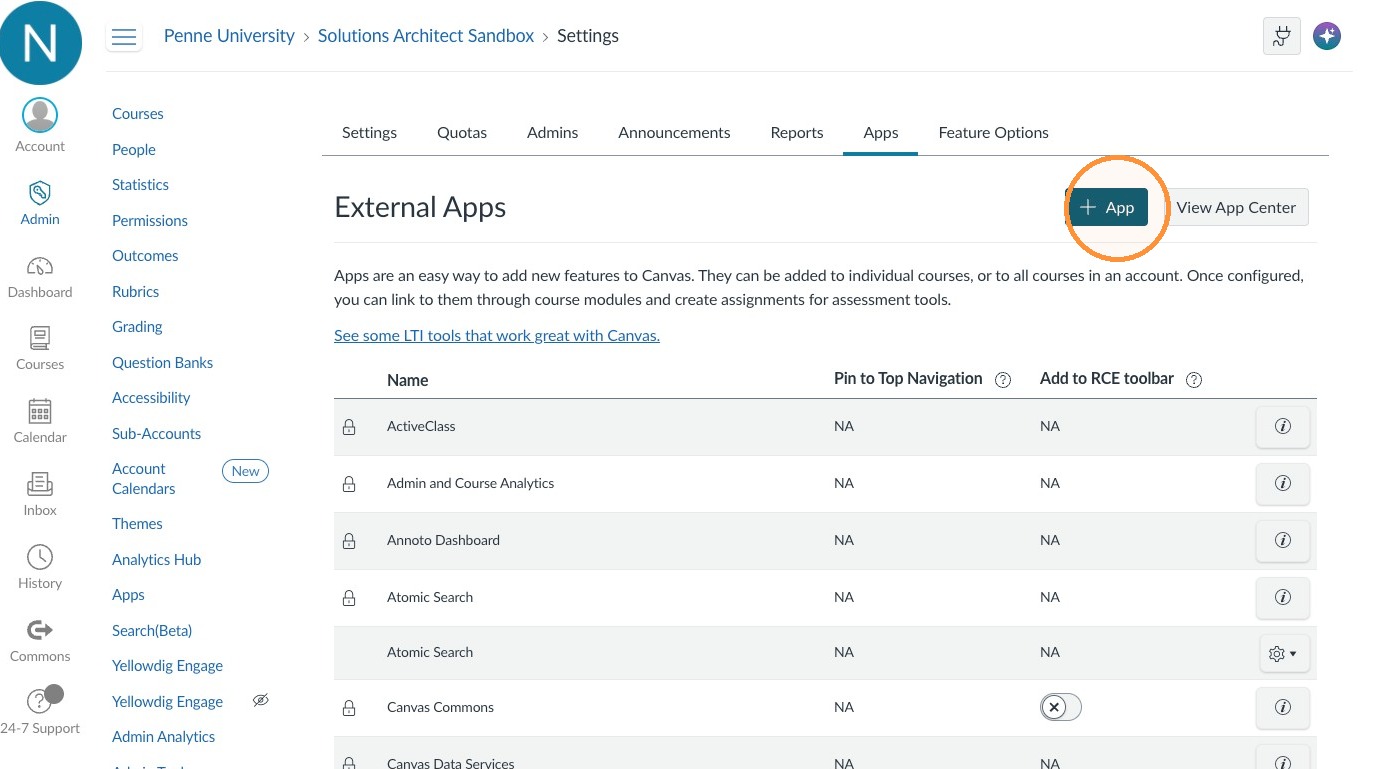
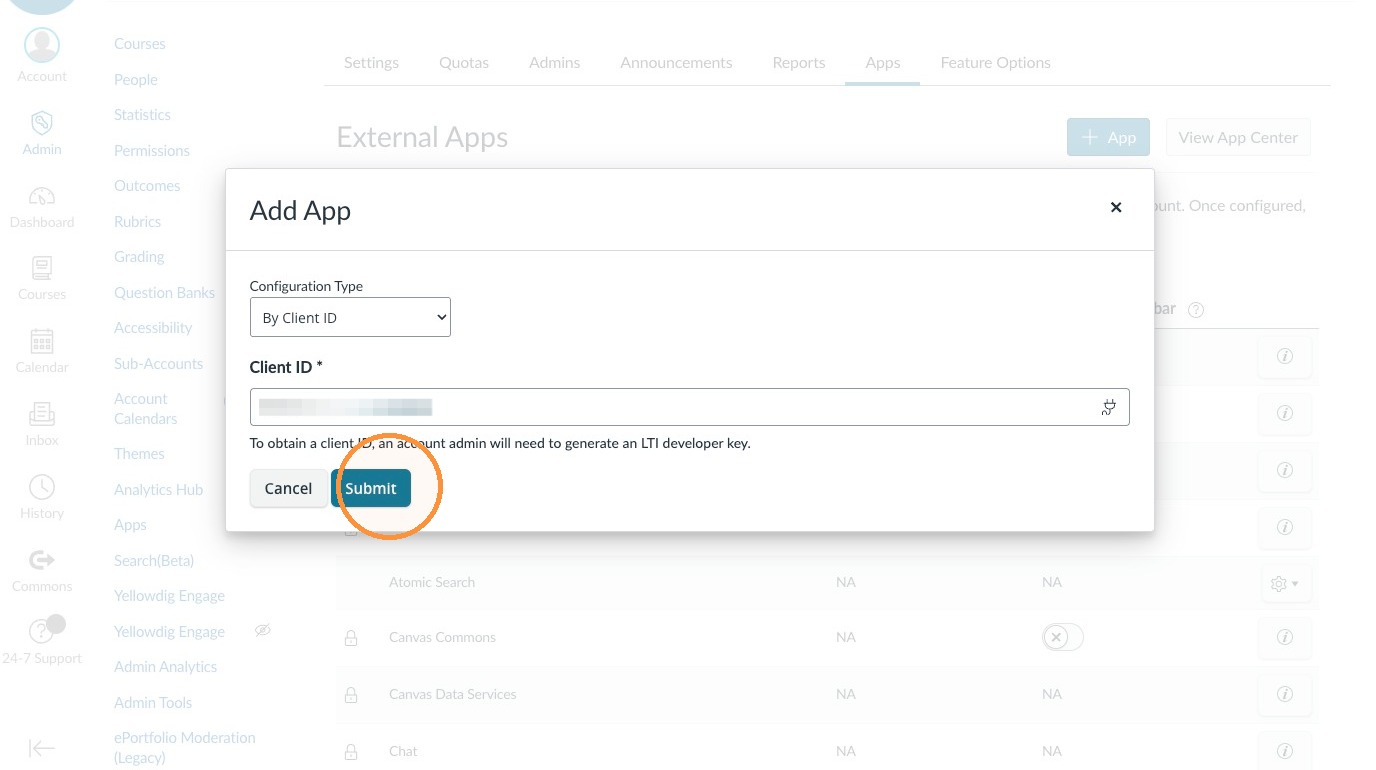
20. Select the "By Client ID" option.
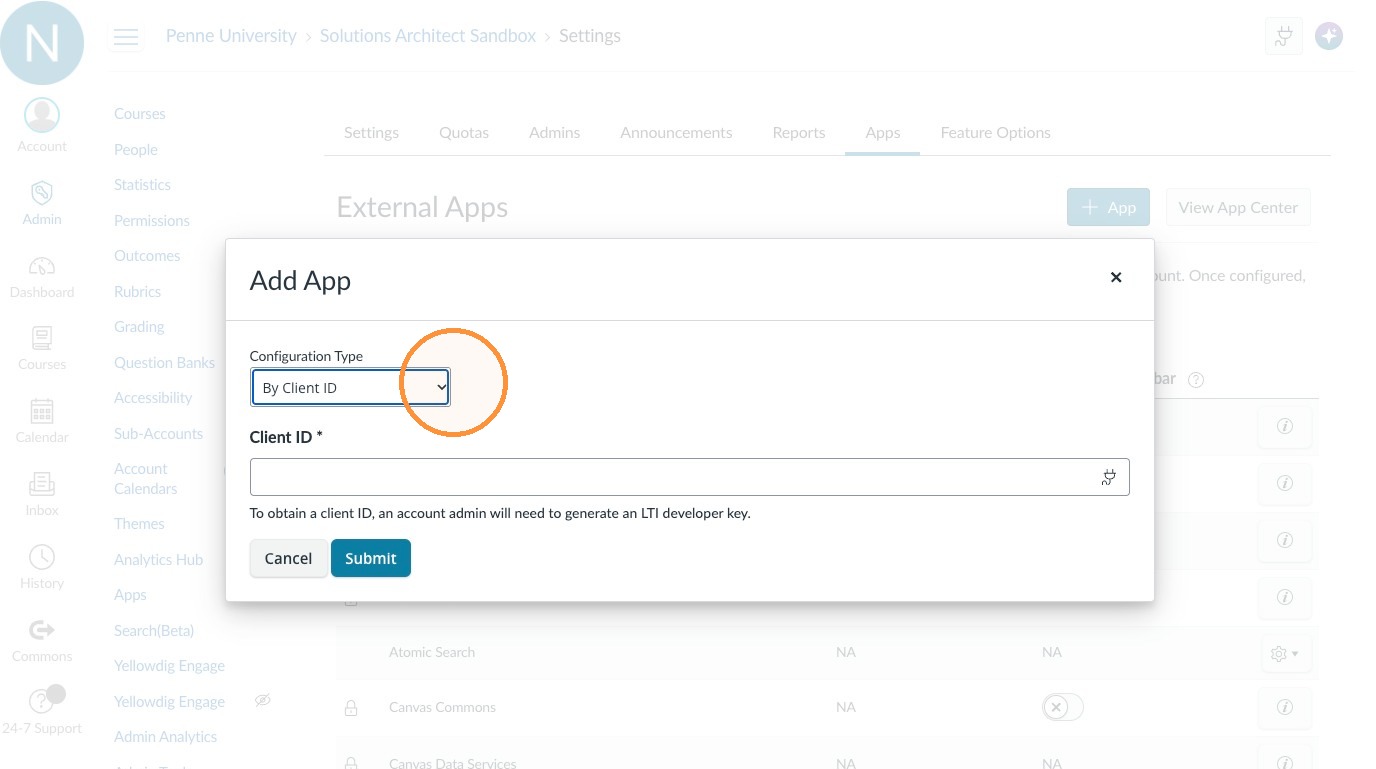
21. Enter the copied client ID.
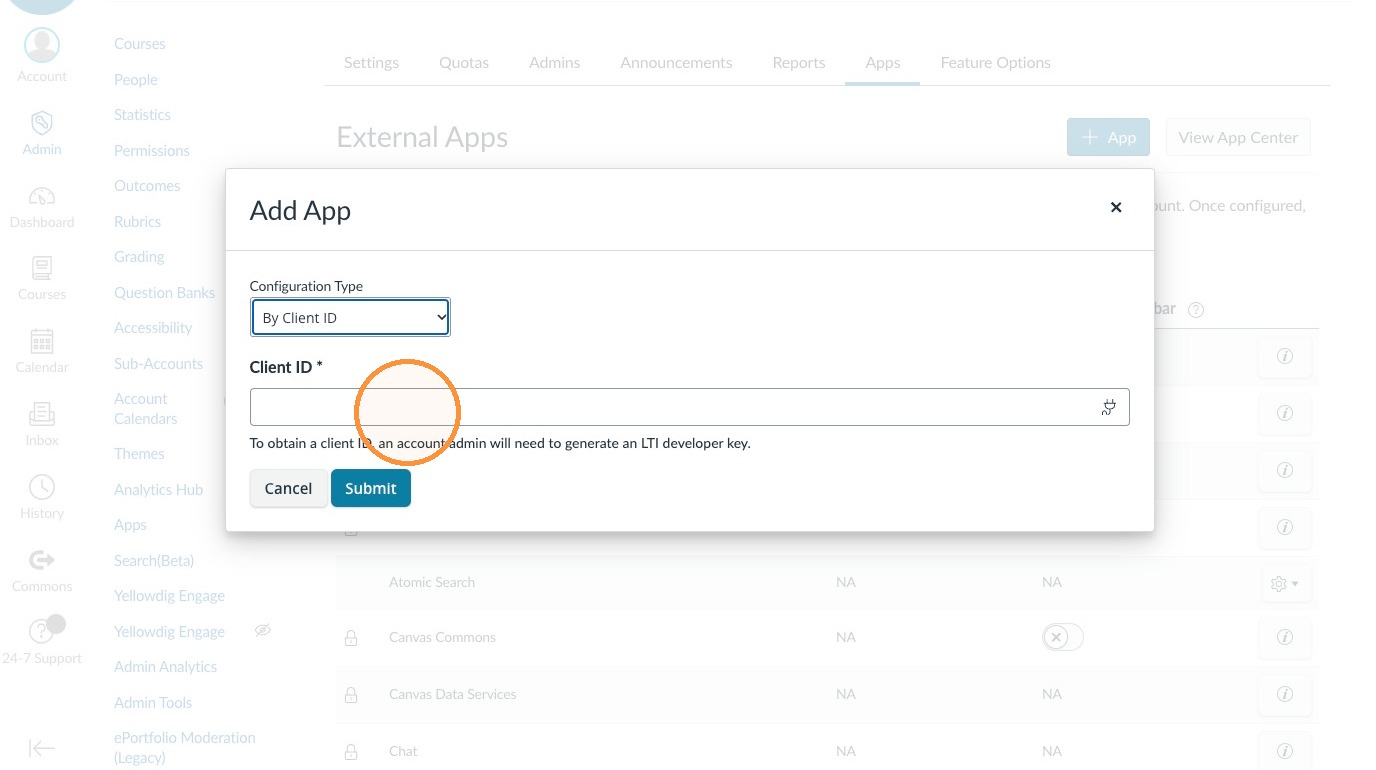
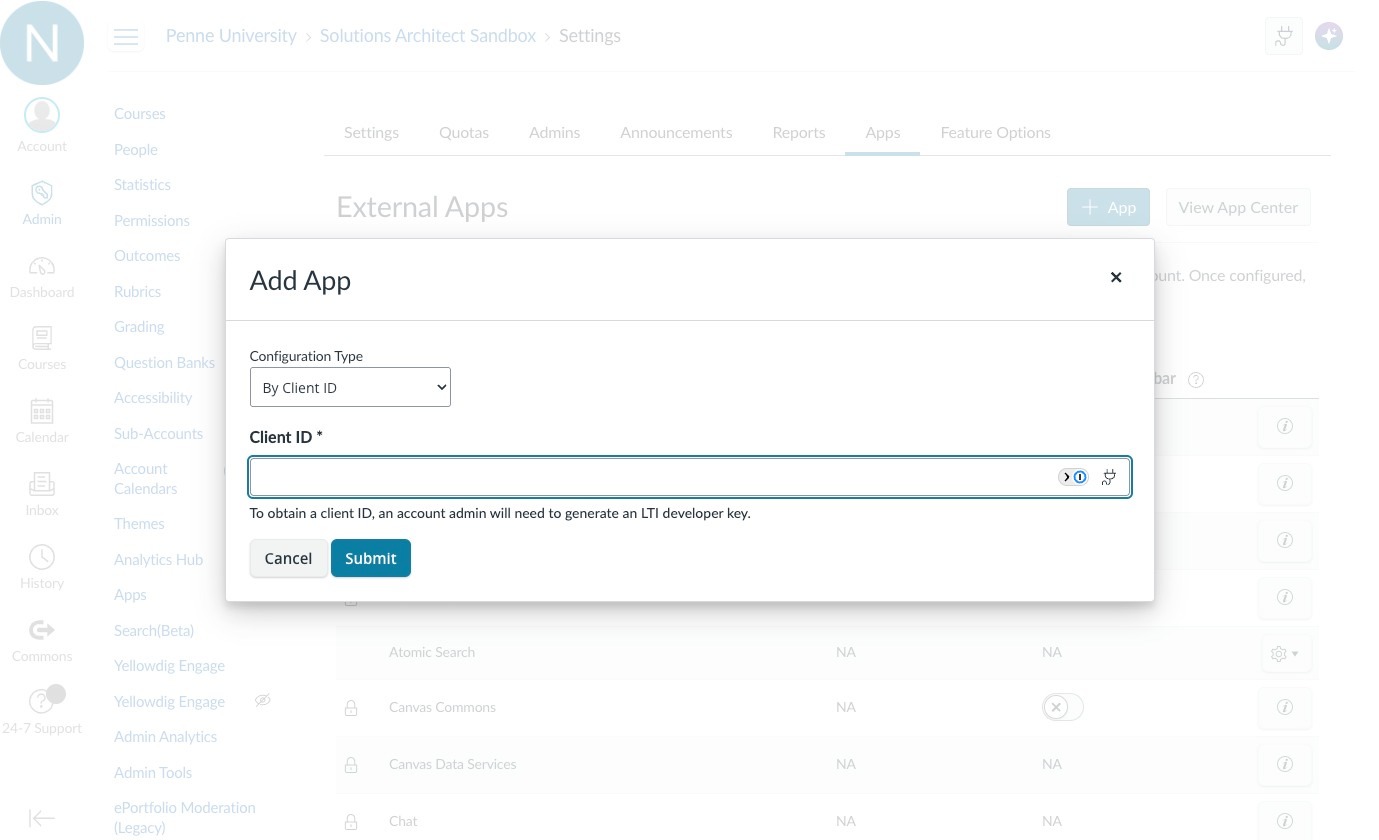
22. Click "Submit"
23. Click "Install"
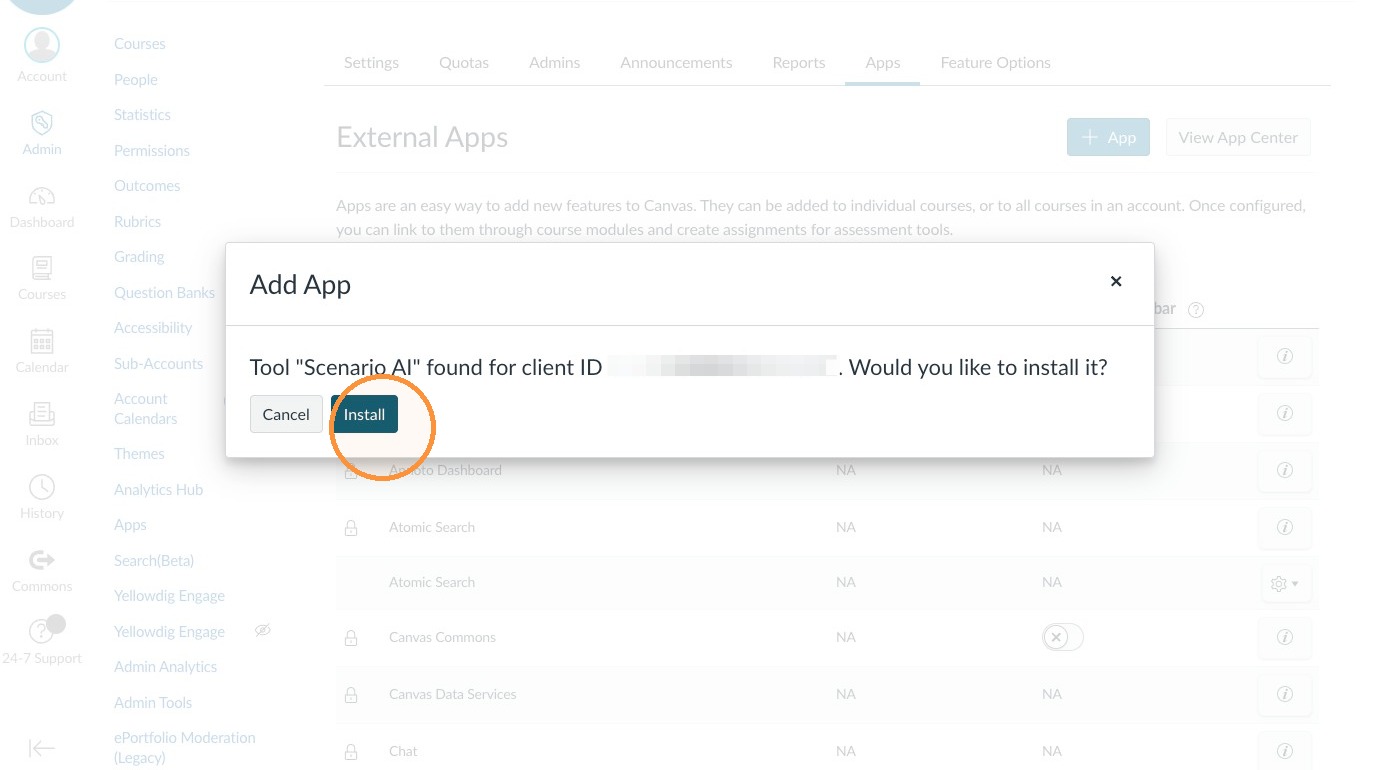
Noodle Dialogue is now ready to be deployed in your Canvas course(s)